GotSafety Desktop Admin – How to Login
1 – Navigate to Login Page
- Go to www.GotSafety.com
- At the top right of the page, click on “2.0 Login”.
2 – Logging In
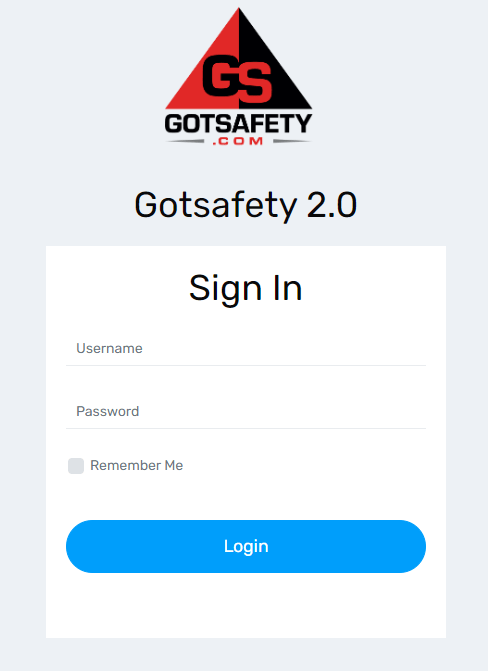
- The login portal will display “GotSafety 2.0 Sign In”. From here, you will enter the admin login credentials for your company.
- When you first log in, you will be brought to the “Dashboard”.
3 – Menu Options
After you log in, your “Dashboard” will list the various functions you can use in your admin portal on the left side of the screen. These include:
- Dashboard Windows
- Safety Lessons
- Form Management
- Emp Management
- Inspection Report (if applicable)
- Repository
- Settings
- QR Codes (if applicable)
- Certifications

4 – “At-a-Glance” Data
The “Dashboard” will give you account data and statistics about your GotSafety system. This area won’t have information displayed at first and will start to accumulate information as you complete trainings and use the system. “At-A-Glance” data includes:
- Settings: This window will let you know how many employees you have active and inactive.
- Submitted Forms: Here you can see how many submitted forms your company has completed and the date of the last form submitted.
- New Lessons Waiting to Be Approved: This window shows lessons waiting to be approved for your lesson library. The window will give you a list of new lessons that are not active yet. These lessons are waiting for you to approve or put in archived lessons. This is a way to limit the lessons your employees have access to, or if they do not pertain to your company.
- Required Training and Custom Training Scheduler: You will be able to track any scheduled training from the “Required Training” or “Custom Training Scheduler” windows.
- Inspection Report: If your company has onsite visits with GotSafety, you will be able to view the completed detailed inspection reports in this window.
- Certificates Going to Expire: If you upload any information in the “Certifications” tab, you will be able to see which certifications are 30 days from expiration in this window.


